Showing posts with label polka dots. Show all posts

Friday, July 22, 2011

MOTW and custom polishes


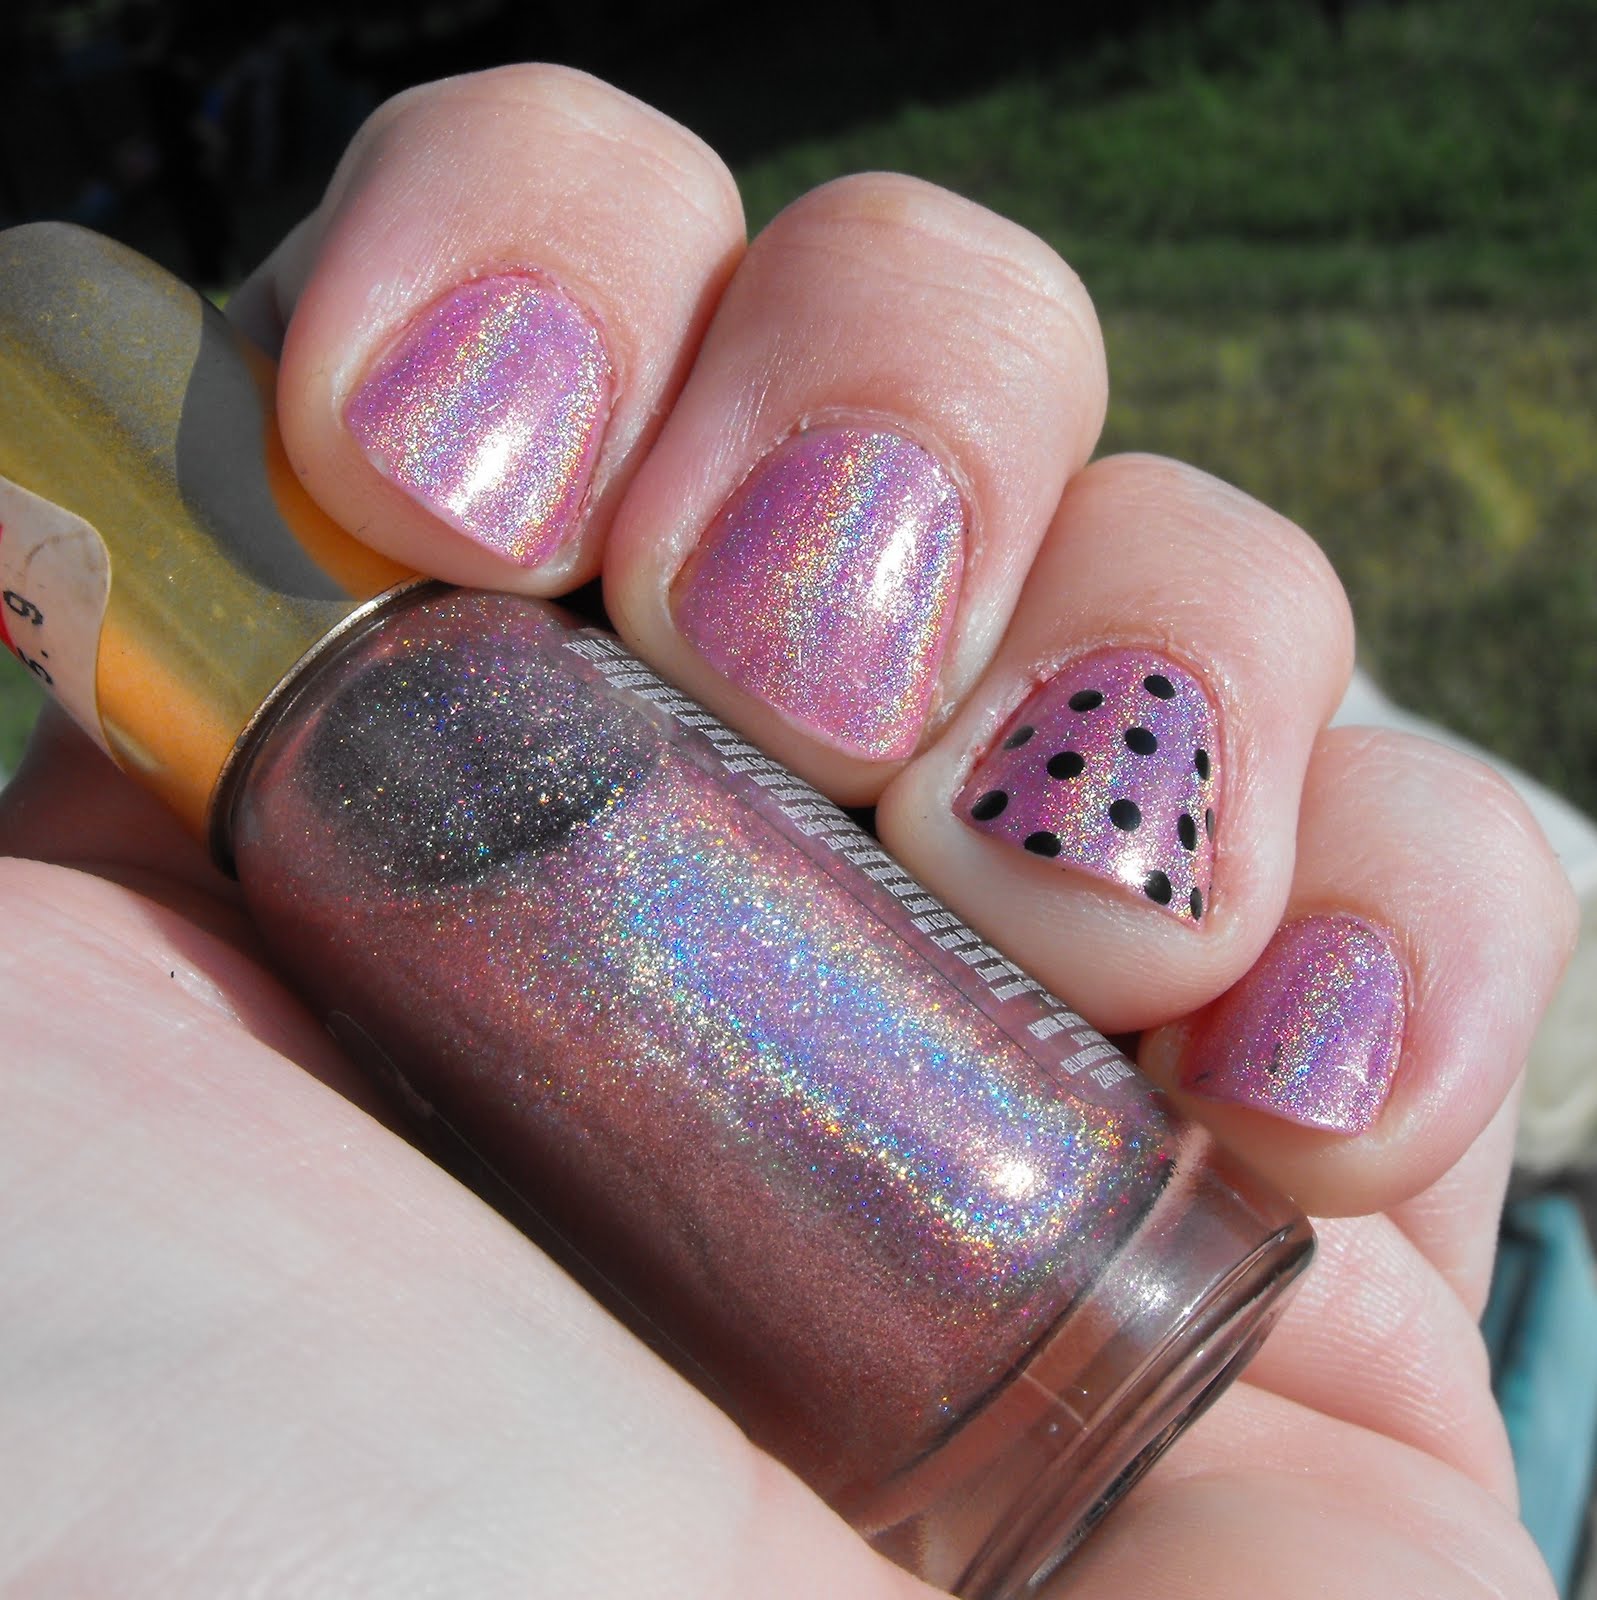
Today I pulled out a color I've worn before but hey I LOVE it! It's Sally Hansen Nail Prisms in Pink Rose Diamond . This polish is actually what started my love affair with holographic polishes. (and heck even if you don't like pink the holo-goodness makes this a yummy color!)Sadly this line isn't available in retail stores anymore BUT it can be found on ebay quite frequently. Just be warned that the Nail Prism colors with the word PEARL in the name are NOT holographic! (But they are lovely sheer colors!) I started out this mani with 2 coats of Sinful Colors Star Fish which is a nice dusty pink. I added 2 coats of Pink Rose Diamond on top. After letting them dry I added black polka dots to my ring fingers with acrylic paint. Word of advice, be sure to let the acrylic FULLY dry before adding a clear coat. I smudged my right ring finger just a bit! lol


Trying to stick with my 'Ruby' manis for the month of July is kind of tough...I have been playing around with my Spectraflair pigment powder and mixed the pink I wore HERE. Plus I also made a purple and a charcoal grey! I am super excited because my order from TKB Trading arrived today. They sell supplies for making custom cosmetics, including nail polishes!!! I ordered some empty mini bottles for storing colors as well as sharing them, as well as the little ball bearings that help mix the polish. I ordered some syringes in 2 sizes (these are going to be used with my resin for mini making) and some cool holographic glitter.


I found a recipe for a deliscious looking cake on the Betty Crocker facebook page, and decided to save myself the calories and make it in mini. I am currently slicing a tiny brown wrapped cream color polymer clay cane into about a bazillion tiny almond slices for the cake topping. I forgot just how may strands the smallest disk on my extruder makes with just a peach pit sized piece of clay! (I'll have 'almond slices' coming out the wazoo!)

Saturday, April 23, 2011

MOTW and Yay...PROGESS!!!!

Last nights' mani was loads of fun. I used 3 coats of Cover Girls' Aglow Pink as my base. (over a coats of clear base coat of course!) Then I used my ball stylus to add dots in 6 more shades of pink. For the most part I am happy with this look, although I can't ever seem to start my manis' before 8pm, which means they aren't fully dry by the time we got to bed. They looked good this morning, but after using acetone to get the last bit of residue off the furniture to be painted( a bit more on that in a sec...) The tips look atrocious. Soooo I'll be repainting my nails here in just a bit.
After spending a few hours out this morning with my hubby, we came home to an empty house. My sister had 'stolen' our kiddos to take them swimming at her place. (yep I did know they were being stolen. ;-D) Hubs and I chilled for a bit, before I got to work masking off the parts of the Barbie furniture I didn't want to have to repaint. Then I laid down a nice big tarp and some newspaper and set to work with several cans of Krylon Fusion paint in white, hammered aluminum and cast iron. The kitchen island started life being deep fuschia, the first vanity (there is a 2nd one coming soon) was hot pink, and the pair of 4-poster beds which were pale pink out of the box are all now crisp satin white! YAY!!!
After the paint has cured for a day I will start on the detail work. (although I think a trip to the craft store is needed to pick up some model paints) On the kitchen island I masked off the 'countertop' which is a pretty flecked pink color.
The vanity has a nice black top to it and I decided to leave it that way. I repainted all 4 of the night stand tops white, but and thinking about repainting 2 of them black to match the vanity top. I also repainted the refrigerator from deep pink to hammered aluminum. I had originally intended to paint the interior white but yeah, um...I decided that 8yr old little girls aren't going to care that the inside is silver! lol Last on my To-Be-Painted List was the dining room set. I had planned on leaving them white when I bought them, but once I realized that the seats sat way to low, I figured out a way to raise the seats. However doing this was going to leave things looking a little rough, so I used the 'cast iron black' Fusion paint to repaint the chair bases (the seat cushions are getting black sateen covers) and the table base. The also got left unpainted as it is grey with flecks in it so it looks like granite. (btw here is a link so you can see what some of the pieces originally looked like!)